Ruby on Railsの勉強がてらに呑んだくれリストを作ってみた(その2 Unicorn+Nginx編)
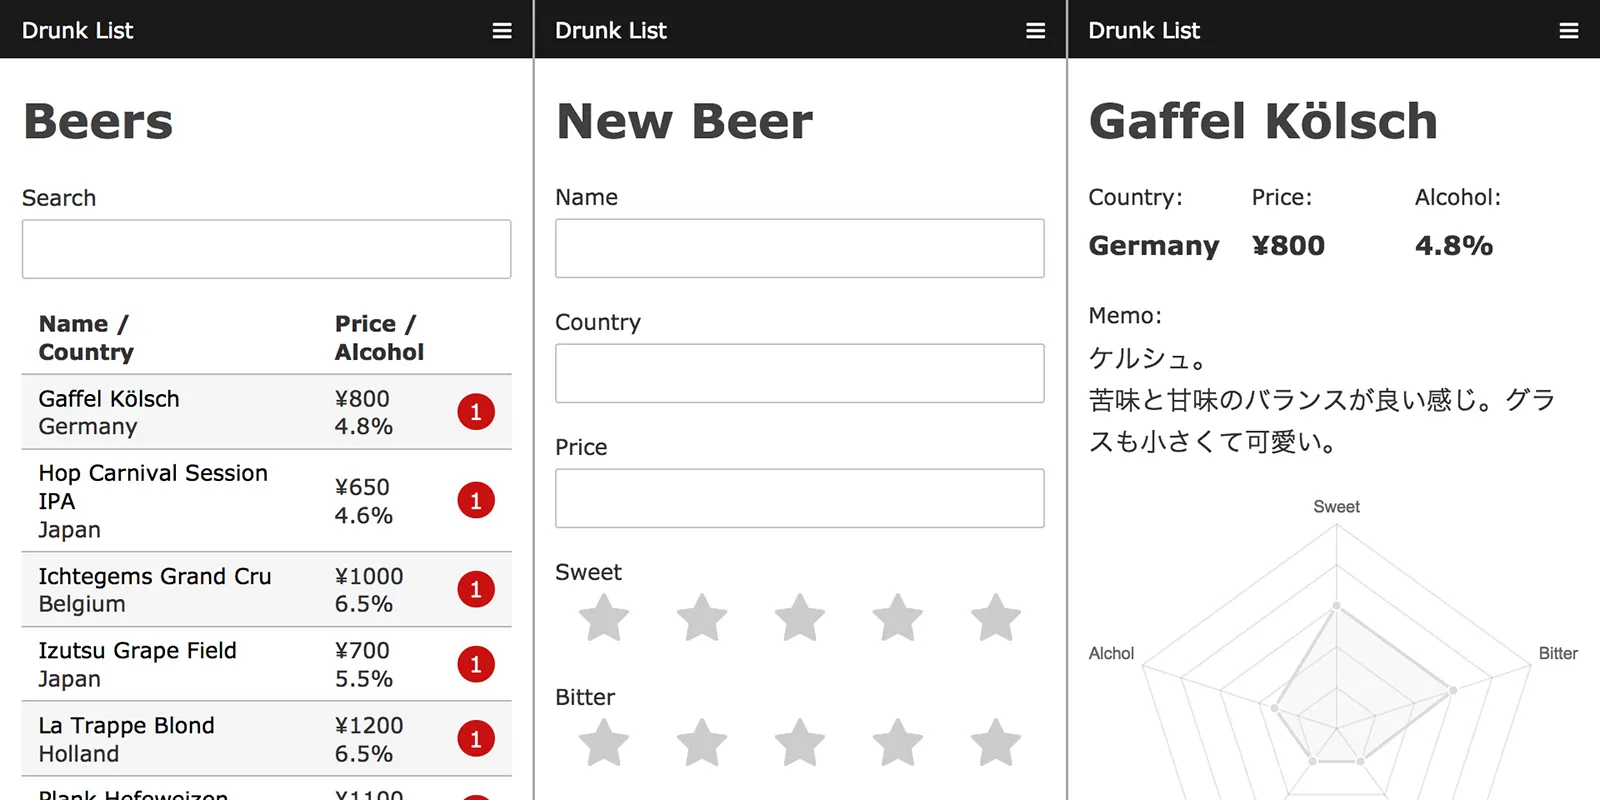
その1に引き続き、Ruby on Railsのメモを残しておきます。(ちなみに呑んだくれリストとはこんな感じのモノです。)
今回は、Rails + Unicorn + Nginxの設定メモです。
Unicornの設定
railsのアプリケーションが作成しているコトが前提となります。出来ていない時は、
rails new projectname
で作成をしてください。
インストール
アプリケーションフォルダ内の「Gemfile」にUnicornを追記し、インストールします。
echo "gem 'unicorn'" >> Gemfile
bundle install
設定ファイルの作成
インストールが完了したら、config/unicorn.rbを作成し、下記のように記述します。
worker_processes 2 # 立ち上げるworker数
working_directory "/path/to/application" # アプリケーションのディレクトリ

listen "/path/to/unicorn.sock" # Unix Domain Socket

pid "/path/to/unicorn.pid"     # PIDファイル出力先

timeout 60

preload_app true

stdout_path "/path/to/stdout.log" # 標準出力ログ出力先
stderr_path "/path/to/stderr.log" # 標準エラー出力ログ出力先

GC.respond_to?(:copy_on_write_friendly=) and GC.copy_on_write_friendly = true

before_fork do |server, worker|
  defined?(ActiveRecord::Base) and ActiveRecord::Base.connection.disconnect!

  old_pid = "#{server.config[:pid]}.oldbin"
    if old_pid != server.pid
      begin
        sig = (worker.nr + 1) >= server.worker_processes ? :QUIT : :TTOU
        Process.kill(sig, File.read(old_pid).to_i)
        rescue Errno::ENOENT, Errno::ESRCH
      end
    end

    sleep 1
  end

after_fork do |server, worker|
  defined?(ActiveRecord::Base) and ActiveRecord::Base.establish_connection
end
working_directory、listen、pid、stdout_path、stderr_pathは、環境に合わせて変更を行ってください。 listenで指定したパスはNginxの設定時に必要ですので、どこかにメモをしておきましょう。
Unicornの実行
最後にUnicornを実行します。
bundle exec unicorn -D -c /path/to/application/config/unicorn.rb -E (実行環境|development|production)
ただ、毎回上記コマンドを実行するのが面倒な方は、参考サイトに起動スクリプトが載っていますので、そちらを利用する方法も良いかと思います。
注意点
productionモードで実行する際は、Secretキーを設定しておかないとエラーが返ってきてしまうので、下記コマンドで環境変数に設定しておく必要があります。(横着してsecrets.ymlに直接記述しても動きます)
SECRET_KEY_BASE=$(rake secret) bundle exec unicorn -D -c /path/to/application/config/unicorn.rb -E production
~/.bash_profileとかで環境変数に設定しておく方法もあるそうなのですが、何故か自分の環境では動かなかったので、上記のようなコマンドで実行しています。
Nginxの設定
Unicornが実行できたら次にNginxの設定を行ないます。
インストール
以前のメモではepelリポジトリからインストールしていましたが、今回は別のリポジトリからインストールしてみます。
リポジトリを追加して、yumでインストール。yum便利です。
rpm -ivh http://nginx.org/packages/centos/7/noarch/RPMS/nginx-release-centos-7-0.el7.ngx.noarch.rpm
vi /etc/yum.repos.d/nginx.repo # enabled=1 -> enabled=0
yum install nginx --enablerepo=nginx
設定ファイルの作成
今回はバーチャルドメインもせずRailsに使うだけなので、ちょっと横着をしてdefault.confを編集しちゃいました。
upstream rails-unicorn {
    server unix:/path/to/unicorn.sock;
}

server {
    #listen       80;
    server_name example.net;

    # root /usr/share/nginx/www;
    index index.php index.html index.htm;

    location / {
        try_files $uri $uri.html $uri/index.html @rails-unicorn;
    }
    # static files
    location ~ ^/(assets|css|js|fonts)/(.*) {
        alias /path/to/application/public/$1/$2;
    }
    # robots.txt | favicon.ico
    location ~ /(robots\.txt|favicon\.ico) {
        alias /path/to/application/public/$1;
    }

    location @rails-unicorn {
        proxy_set_header X-Real-IP $remote_addr;
        proxy_set_header X-Forwarded_For $proxy_add_x_forwarded_for;
        proxy_set_header Host $http_host;
        proxy_pass http://rails-unicorn;
    }

    error_page 404 /404.html;

    # redirect server error pages to the static page /50x.html
    error_page 500 502 503 504 /50x.html;
    location = /50x.html {
        root /usr/share/nginx/www;
    }
}
upstream rails-unicornのserverには、unicory.rbで記述した際のlistenに指定したパスを記述します。 その他、各locationのパラメータは環境に合わせて変更を行ってください。
また、コチラの設定ファイルは参考サイトと同様に、assetsファイルを毎回作成しないように直接読みに行くようにしています。
そのため、css/jsを変更した場合は、下記コマンドを実行する必要があります。
bundle exec rake assets:precompile RAILS_ENV=production
(また、こっそりpublicディレクトリ内にcss/jsフォルダを作って、その中に入れてしまっても大丈夫のように設定ファイルを追記しています。)
実行
Nginxの実行については、yumからインストールしているので、systemctlから操作することが可能です。
systemctl start nginx
参考
- nginx + unicorn + Railsの設定方法 – Qiita
- Missing
secret_key_basefor ‘production’ environment が出たのをどうにかする件 – YKT68の日記
まだまだ続きます、最後に実際にRailsプロジェクトを作成した時のメモを残そうかと思います。投稿しました。
